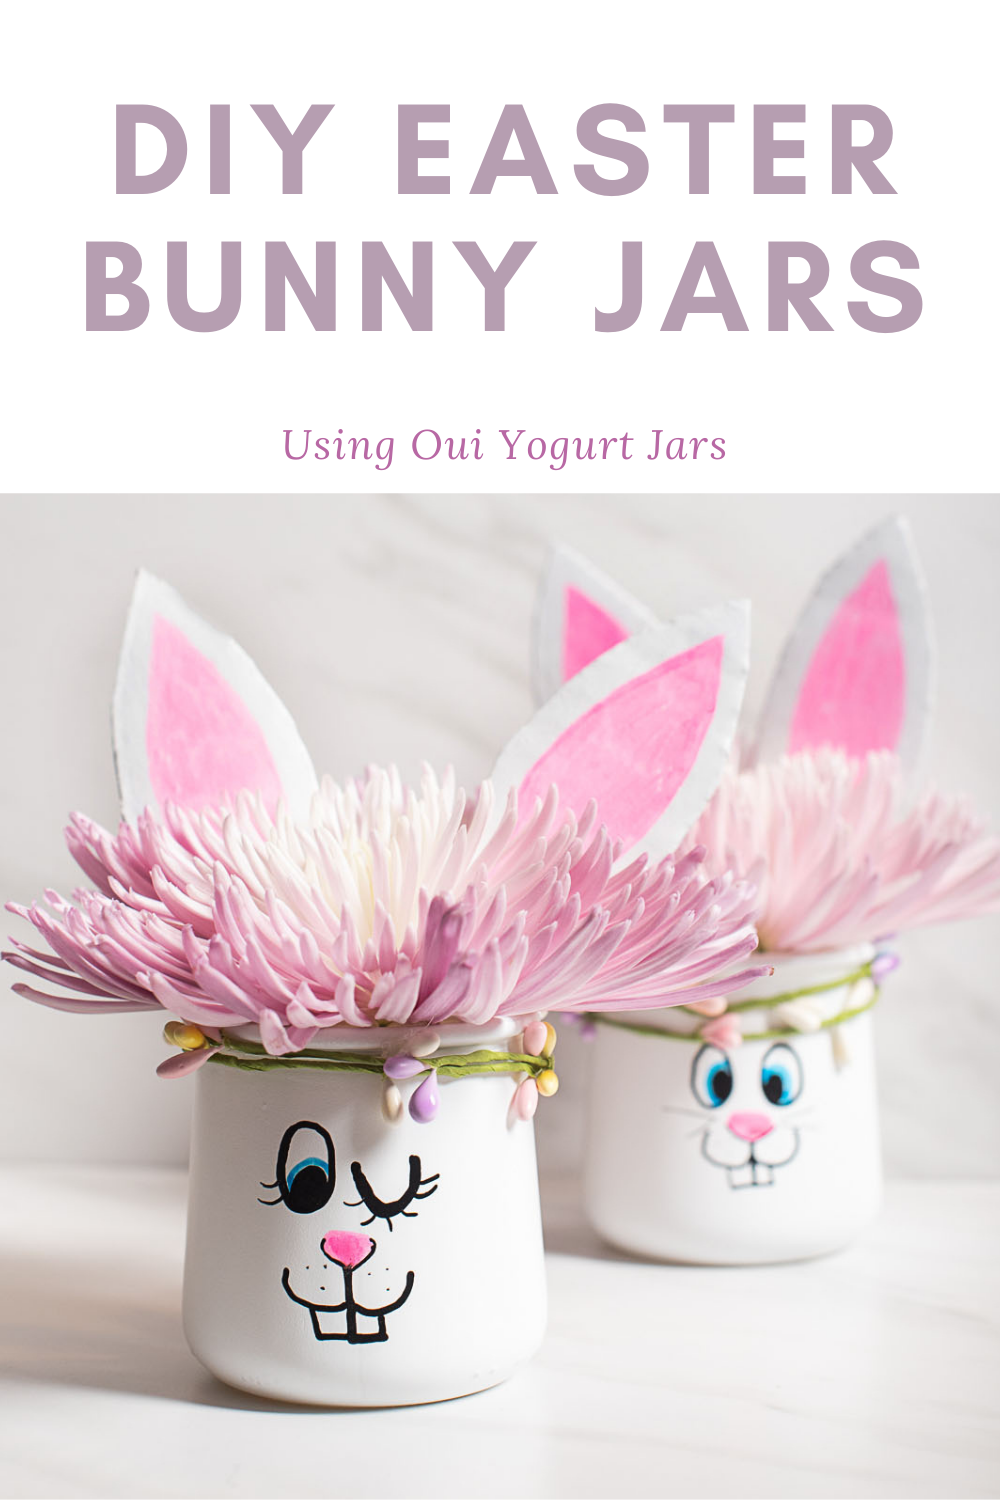
Eco-friendly Easter Bunnies from Repurposed Oui by Yoplait Yogurt Jars
/
*This post contains affiliate links, meaning if you like an item and buy it, I get a tiny monetary high five for spreading the good word about fun products at no cost to you.
Here’s the thing about Florida: it is probably the only place on Earth where so much crazy stuff goes down that no one will bat an eye at a full-grown man hopping around in a giant bunny costume.

I love Easter, and every year (except last year, thanks to the pandemic), my parents have hosted a neighborhood-wide Easter egg hunt with close to 100 kids.
It is an ORDEAL. We break the park up by age group and hide the eggs with an appropriate level of difficulty. My dad wakes me up at 7:00 AM stomping around shouting about how I’m going to miss out on my chance to help hide the eggs, “Come on, now! Get up! You’re missing it all. I made you coffee.” My mom spends weeks and weeks making favors for the kids, which some unsuspecting kind soul must hand out while hopping around in a full-body bunny suit and face paint… in what is often a zillion degree tropical heat.
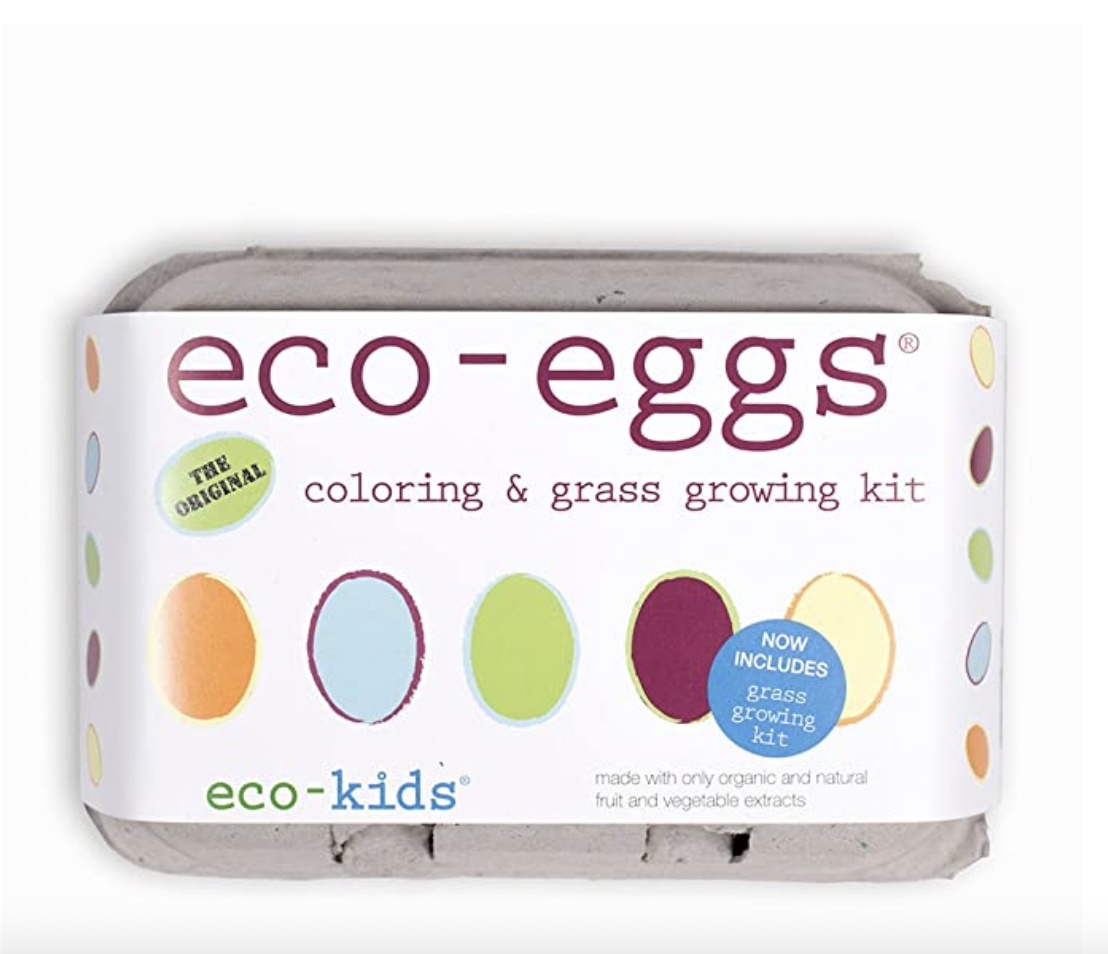
This brings me to my point: it is in my blood to go ham on Easter. I wanted to create adorable little baubles to leave on the doorsteps of our loved ones this year, since all our friends are still social distancing, without trashing the planet. All those candy wrappers, plastic eggs, and plastic Easter grass are such a downer. (Did you miss my 5 Minute DIY Eco-friendly Easter Grass post?)
So today, I’m doing my take on the Oui by Yoplait challenge to repurpose their yogurt jars! (Note: you can purchase lids for your existing jars here if you’d rather upcycle them for spices, loose change, or crafting supplies with even less effort.) We’ll be making adorable, pint-sized bunny rabbits for you to fill with candy, flowers, or tiny surprises for your loved ones. This might not be a zero-waste craft, but it’s a step in the right direction, and it is SO FUN. I’ve literally been chasing my husband around yelling, “But look at THIS one!! This one is even CUTER!” He’s hiding among the throw pillows, desperately clutching the remote and a beer. It’s fine.
Let’s get started.

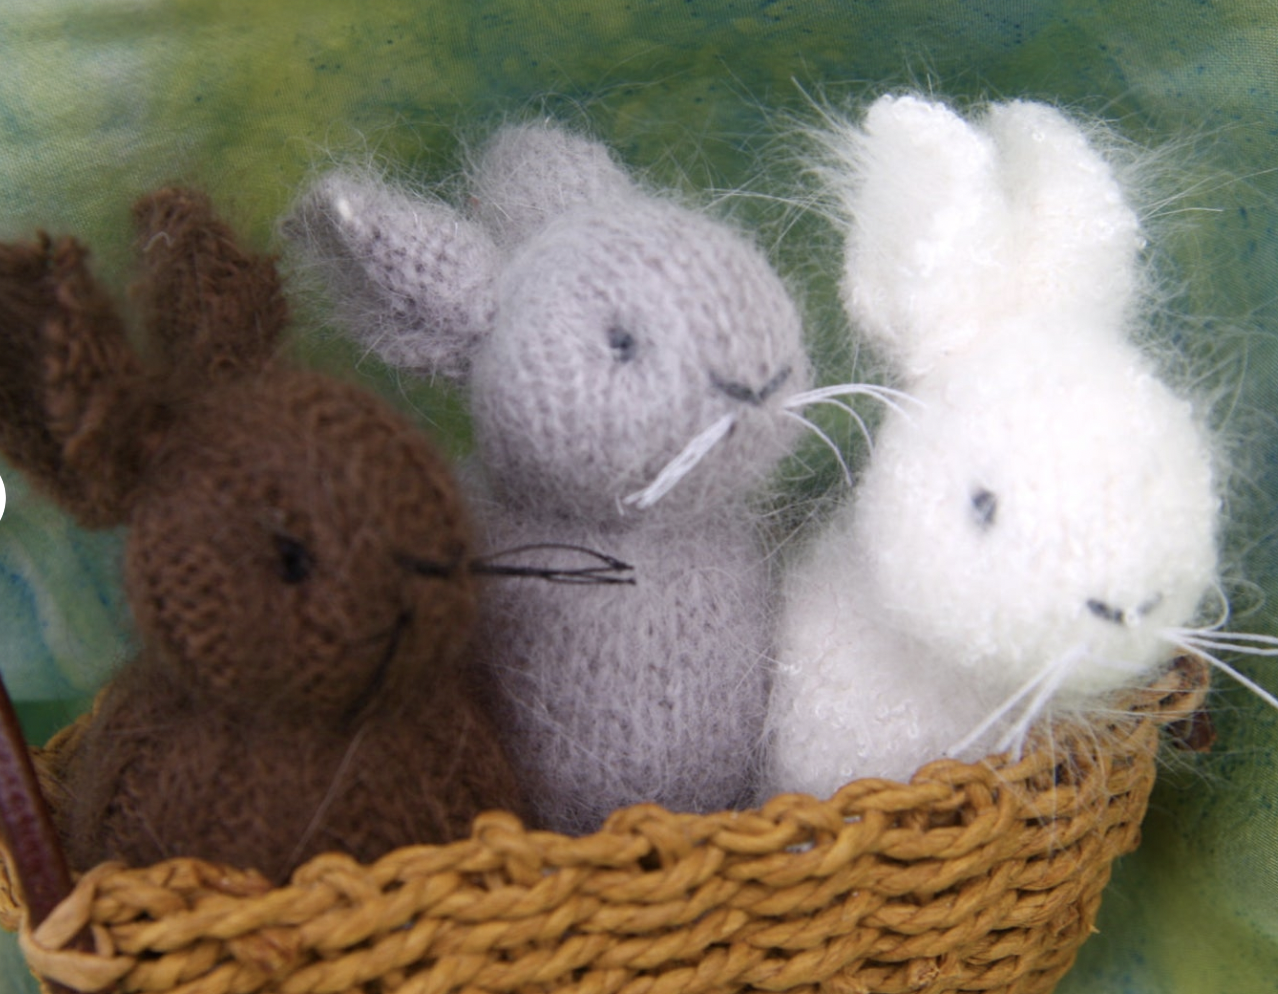
Eco-friendly Easter Bunnies from Repurposed Oui by Yoplait Yogurt
Adorable Easter Bunny Jars from Repurposed Glass Oui Yogurt Jars
Materials:
Oui Yogurt jars, empty and cleaned
Cardboard box or cardstock
Strong scissors (or wire clippers or Xacto knife)
White spray paint (I used matte)
Paper clips
Cotton swaps or decorative pom poms
Paint pens or Sharpies
Easter garland (optional)
Fresh flowers or Easter candy for gifting

Instructions:
Remove the Oui Yoplait labels by soaking your jars in warm water. Mine came off easily after about 10 minutes. Then use Goo Gone and a paper towel to remove any adhesive residue. Wash your jars with soap and water and dry thoroughly. (I hit mine with a hairdryer to speed this along.)
While your jars are soaking or drying, trace your bunny ears in a piece of cardboard or stiff cardstock. I used an empty Amazon box because it was free and needed an upcycling. Use your scissors or an Xacto knife to cut out your bunny ears. I traced a football shape in a piece of scrap paper and used that as a tracing template on my cardboard, and then snipped off the pointy end on one side of each of my ears.
Lay your ears flat on a protective tarp or large piece of cardboard - again, I reused an old, flattened moving box for this - and spray paint one side using broad sweeping strokes in a well-ventilated area. Then spray paint your Oui Yogurt jars.
Let everything dry. If the humidity is high where you are, you may want to set up a dehumidifier or bring them inside to speed along the process. Once everything is dry, flip your bunny ears over and spray paint the remaining blank side. Touch up your glass jars as needed. Mine had some drips on the first go-round, but they were invisible by the time I added my second coat. Let dry completely. Your dry time will vary and depend on the temperature and humidity, mine dried within an hour once I brought them inside and put a fan on.
Shake your paint pens to prep for drawing your faces on, and let your glue gun heat up. You may want to practice your bunny faces a time or two before you get started! Working with one color at a time, draw your faces. Let your ink dry completely between colors; this step won’t take long.
While your faces are drying, add the pink portion to your bunny ears. Then unwind your paper clips, straightening them as much as possible, and trim to your desired length using strong scissors or wire cutters (I used scissors). This will probably vary based on what you’re going to put in your bunny jars, but in general, you’ll want them to be just a bit shorter or the same length as the depth of the jars.
Attach your decorative pom poms or cotton ball as the “tail” with your hot glue gun. You’ll want it to be exactly on the opposite side of the jar from your face.
Wind your garland around the top lip of your jar and secure it with hot glue, and then run a thin line of glue along the flattened end of your bunny ears and push the end of your paper clip wire into the glue. Hold it still until the glue has cooled to prevent wonky ears.
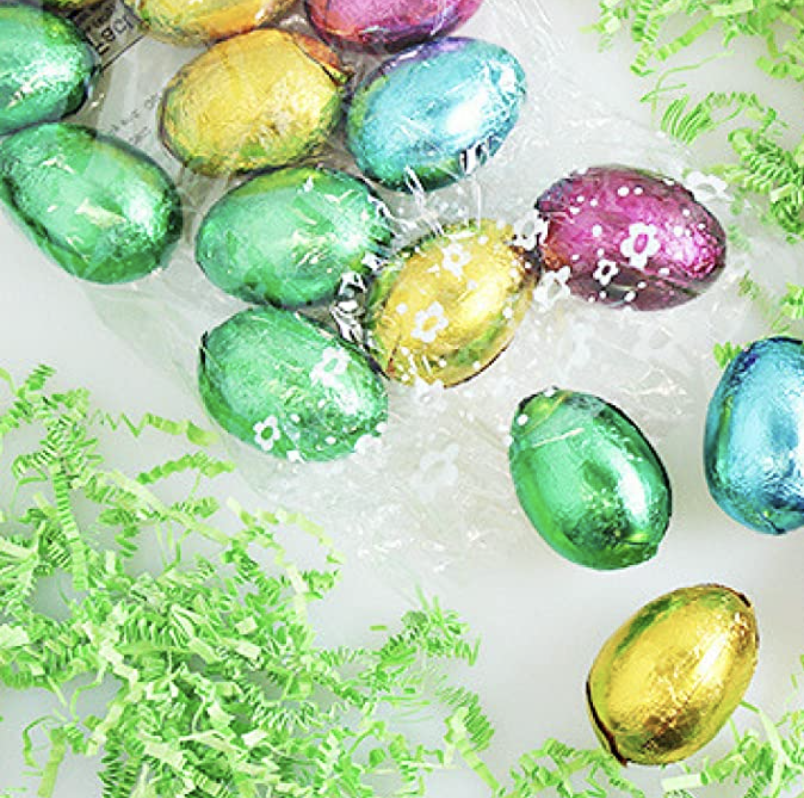
Fill your jar with flowers, Jelly Beans, Robins Eggs, or small gifts, and slip the wire end of your ears into the jars. Voilà!
Hoppy Easter! I hope you have a wonderful holiday with your family. If you’re looking for something amazing to serve for your Easter brunch, check out my Whole Meyer Lemon Upside Down Cake! Looking for a quick, sophisticated spring decor element? Try my DIY Compostable Eucalyptus Wreath!