No-Spend Eco-Friendly Halloween Decorations: Spooky Witch's Kitchen
/In high school, I once dressed in a full body carrot suit for Halloween with a giant leafy hat.
This should tell you that 1) I didn’t date much in high school 2) I’ve always been a hippie at heart and 3) no one should ever question my commitment when it comes to the BEST HOLIDAY OF THE YEAR.
I’ve posted two of my cheap and easy DIY Halloween decorations before - did you miss last year’s Apothecary Style Mantle from household items? Or last week’s Cheap, Sophisticated Witches’ Workshop mantle from garden items here? - but as I stood in my kitchen replenishing my zero waste products and eyeing my first time fermenting project with dread and fear (so much more on this later), inspiration struck:
Could I use my zero waste kitchen supplies to make a Halloween Tablescape?!
Yes. Yes, I could.
If you’re going zero waste, your kitchen is probably filled to the brim with three things: vinegar cleaner, jars of various shapes and sizes, and cheese cloth.
Vinegar cleaner because it’s a simple and non-toxic way to clean your home. Jars for buying in bulk, making your own food products (jam, chutney, limoncello, etc), and storing things, and cheesecloth for straining pectin, infusions, crafting, etc.
Whether you are or aren’t trying to go zero waste, this is still a cheap, easy DIY for adorable homemade Halloween decorations!
*This post contains affiliate links. This means that if you click through and give the product a whirl, I get a tiny fee for spreading the news at no extra cost to you. This helps me offset the enormous amount of time that goes into Compost & Cava.
What You’ll Need:
For Labels
Assorted jars or bottles of different sizes
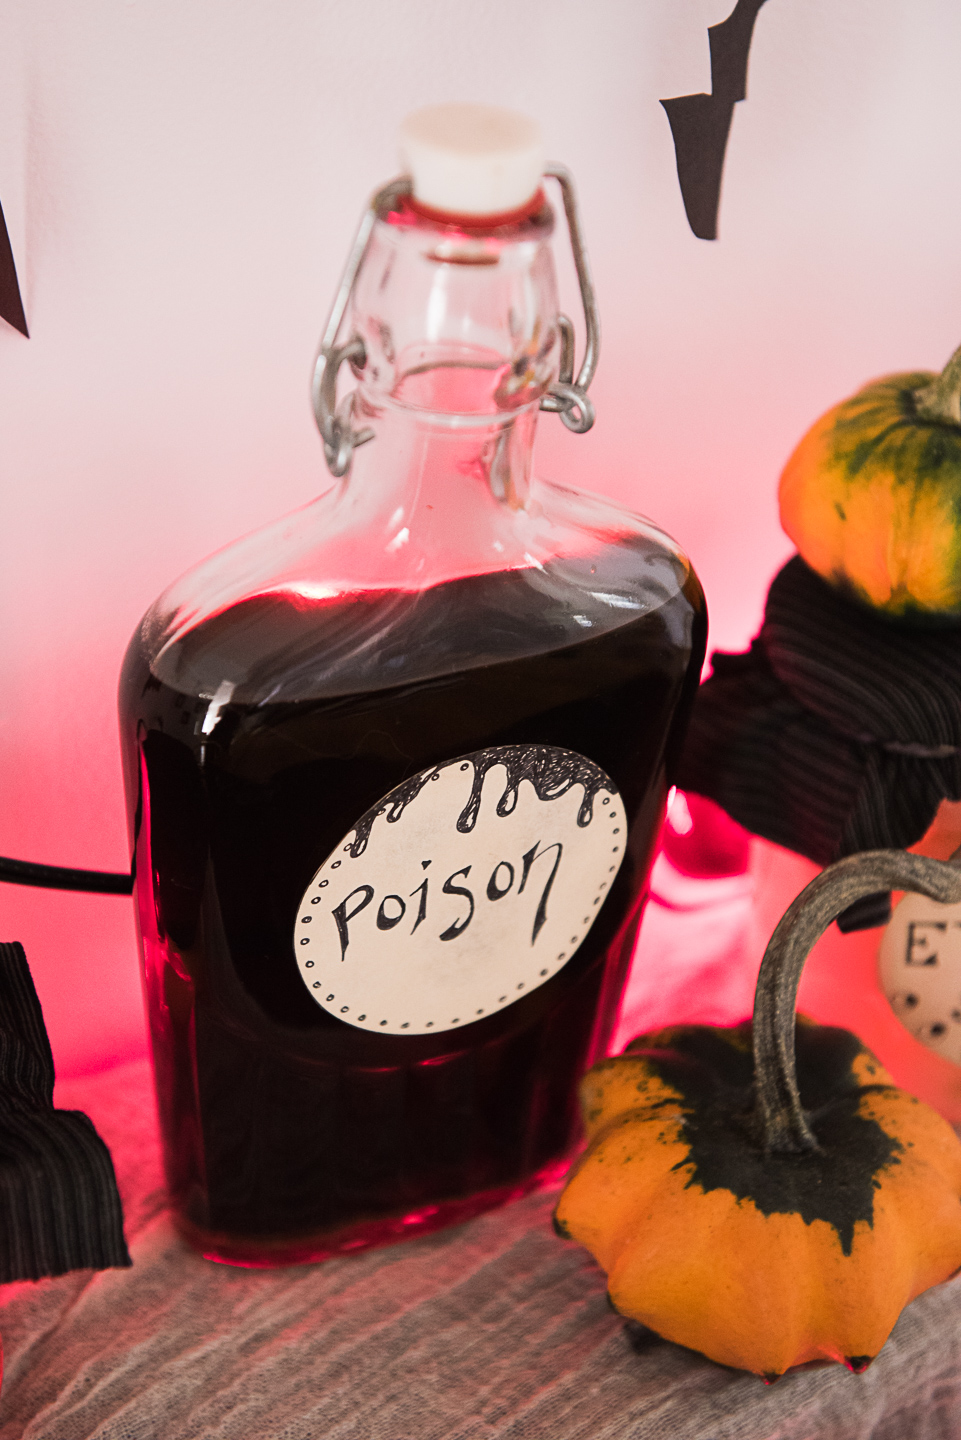
Jarred foods such as cocktail onions, sundried tomatoes, sun-dried tomato pesto, prunes, olives, etc. (Use some imagination! I used homemade kahlua, orange-infused vinegar cleaner, cocktail onions, prunes, beets in vinegar, and sundried tomato pesto)
Cheap white vinegar
Rubber bands (such as the ones off produce from the grocery store)
Sharpie marker and a fine sharpie pen
Assorted old envelopes from junk mail
Craft glue
Plain black tea or leftover black coffee
Flat seal portion of Mason jar lid
For Cheap Halloween Tablescape:
Cheesecloth
Tablecloth or table runner (you could also layer placemats)
Assorted small pumpkins and gourds
Old black or gray tights or t-shirts, rags, etc
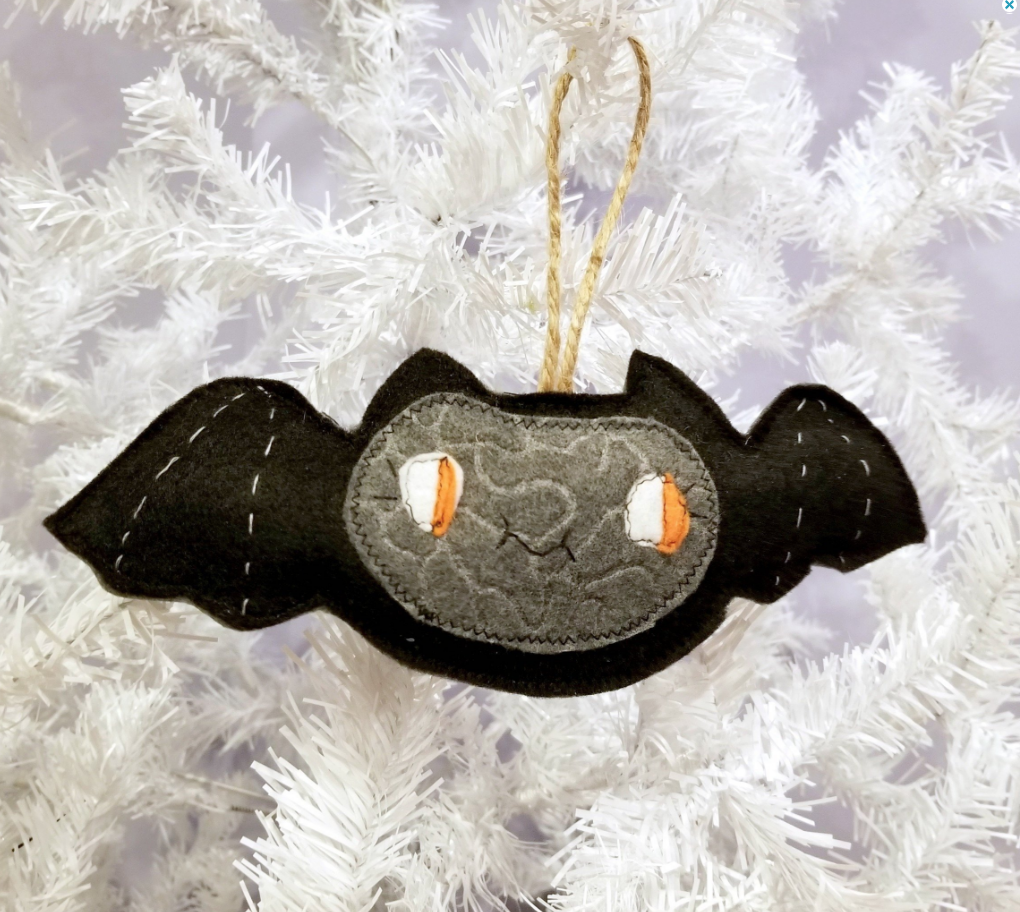
Black construction paper and string for bats or last year’s silhouettes (optional)
One strand of decorative lights (optional)
Small box or basket to be used as a riser

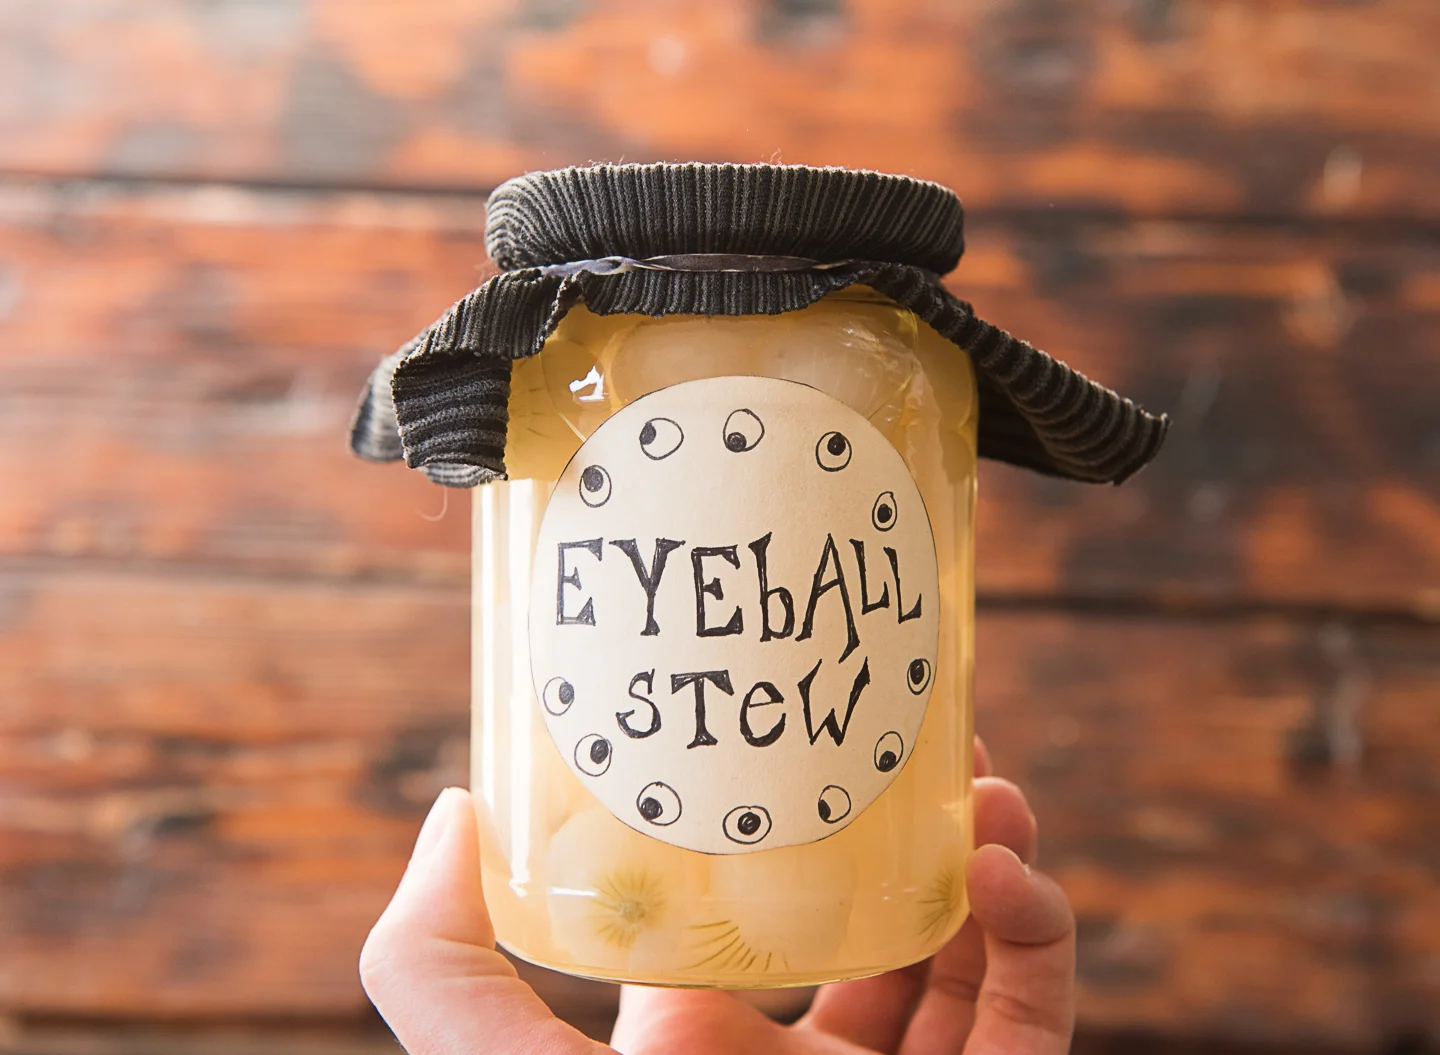
DIY Halloween Labels from Junk Mail
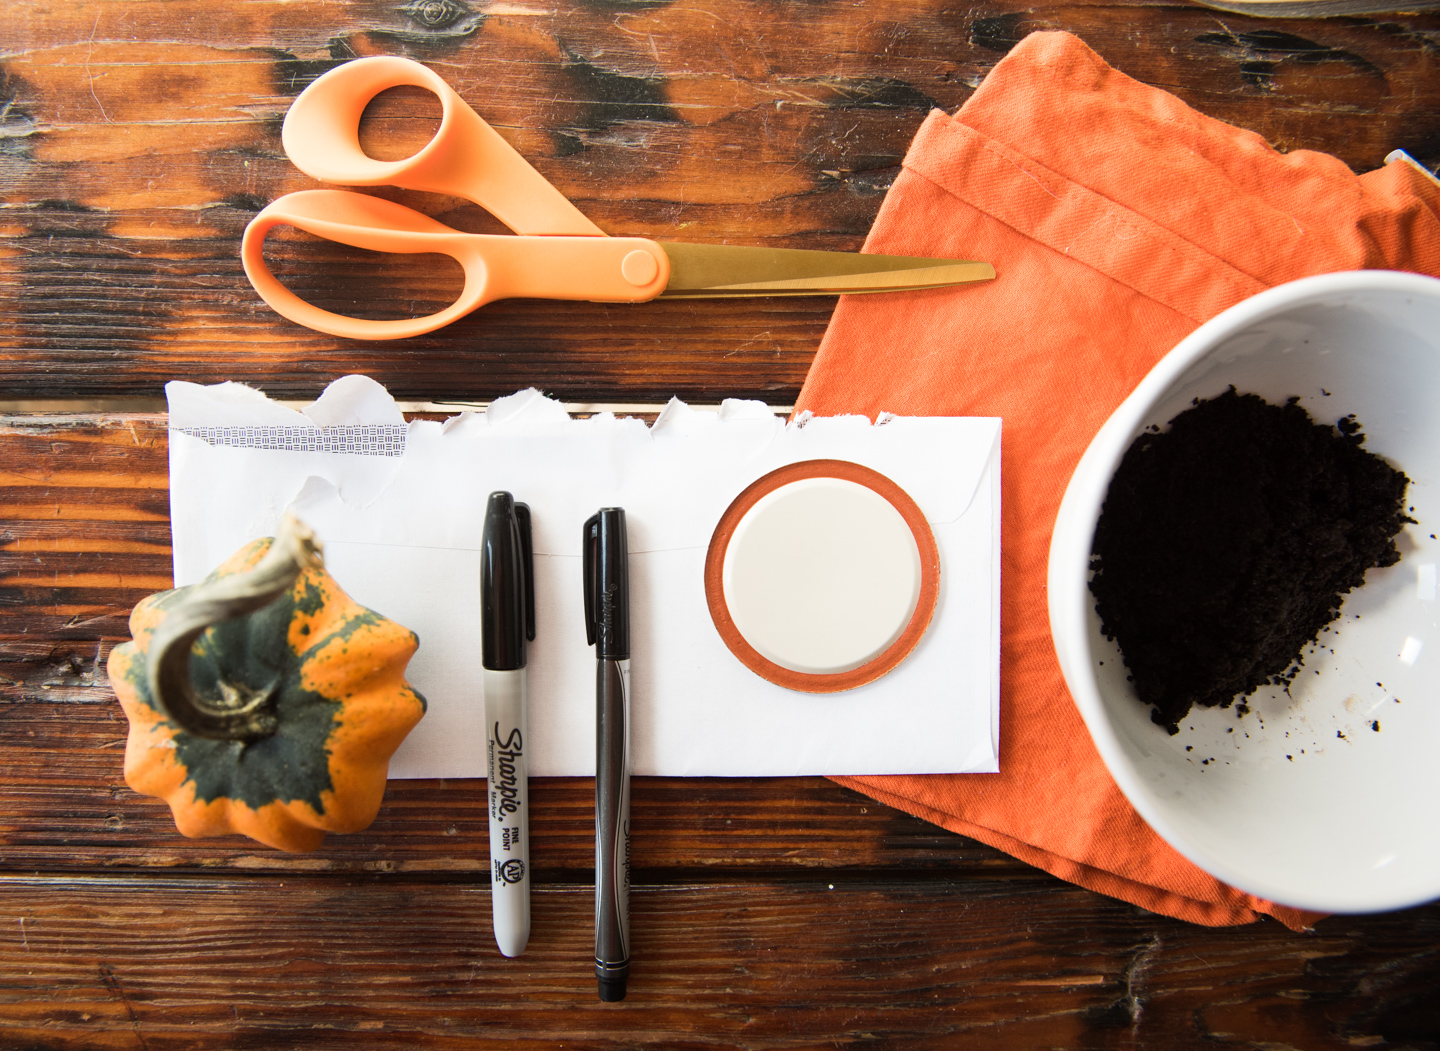
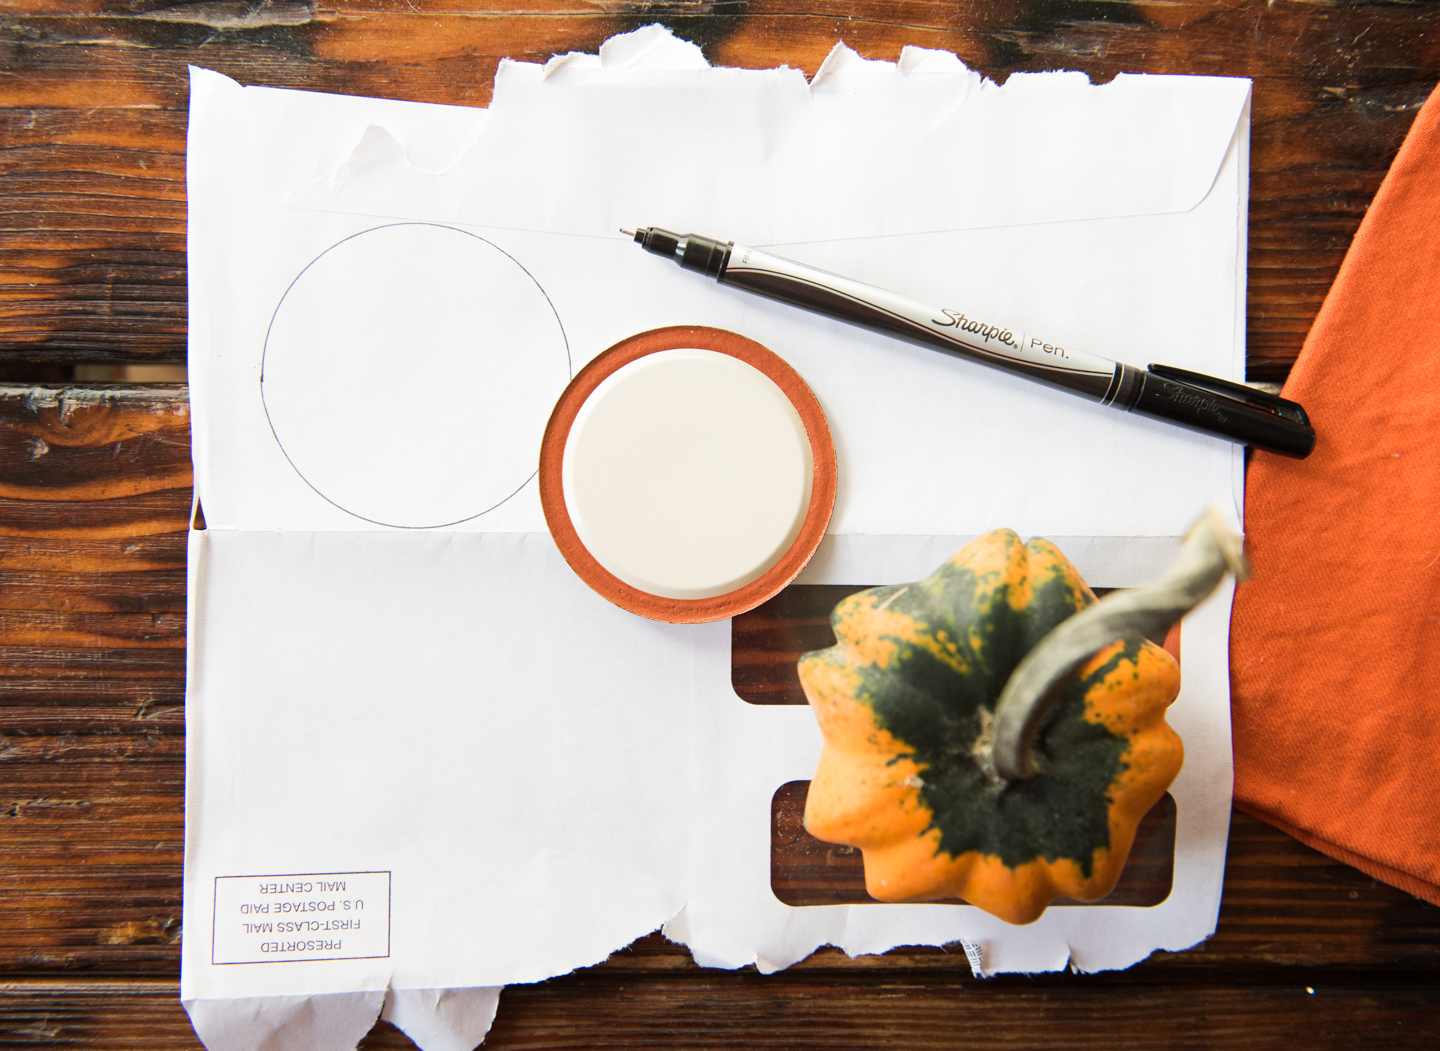
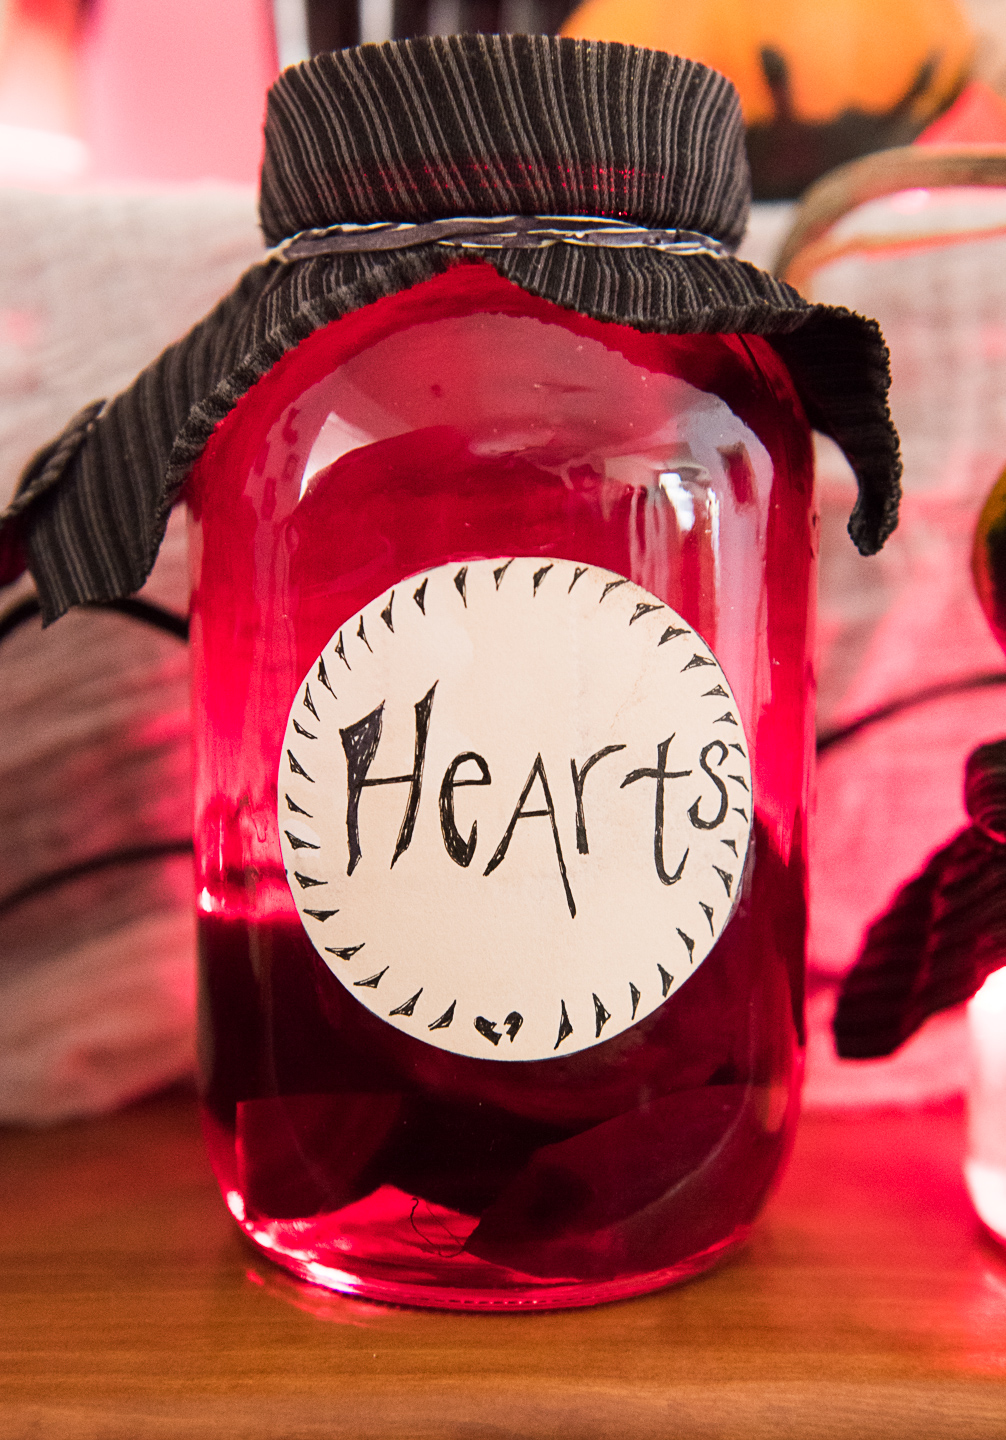
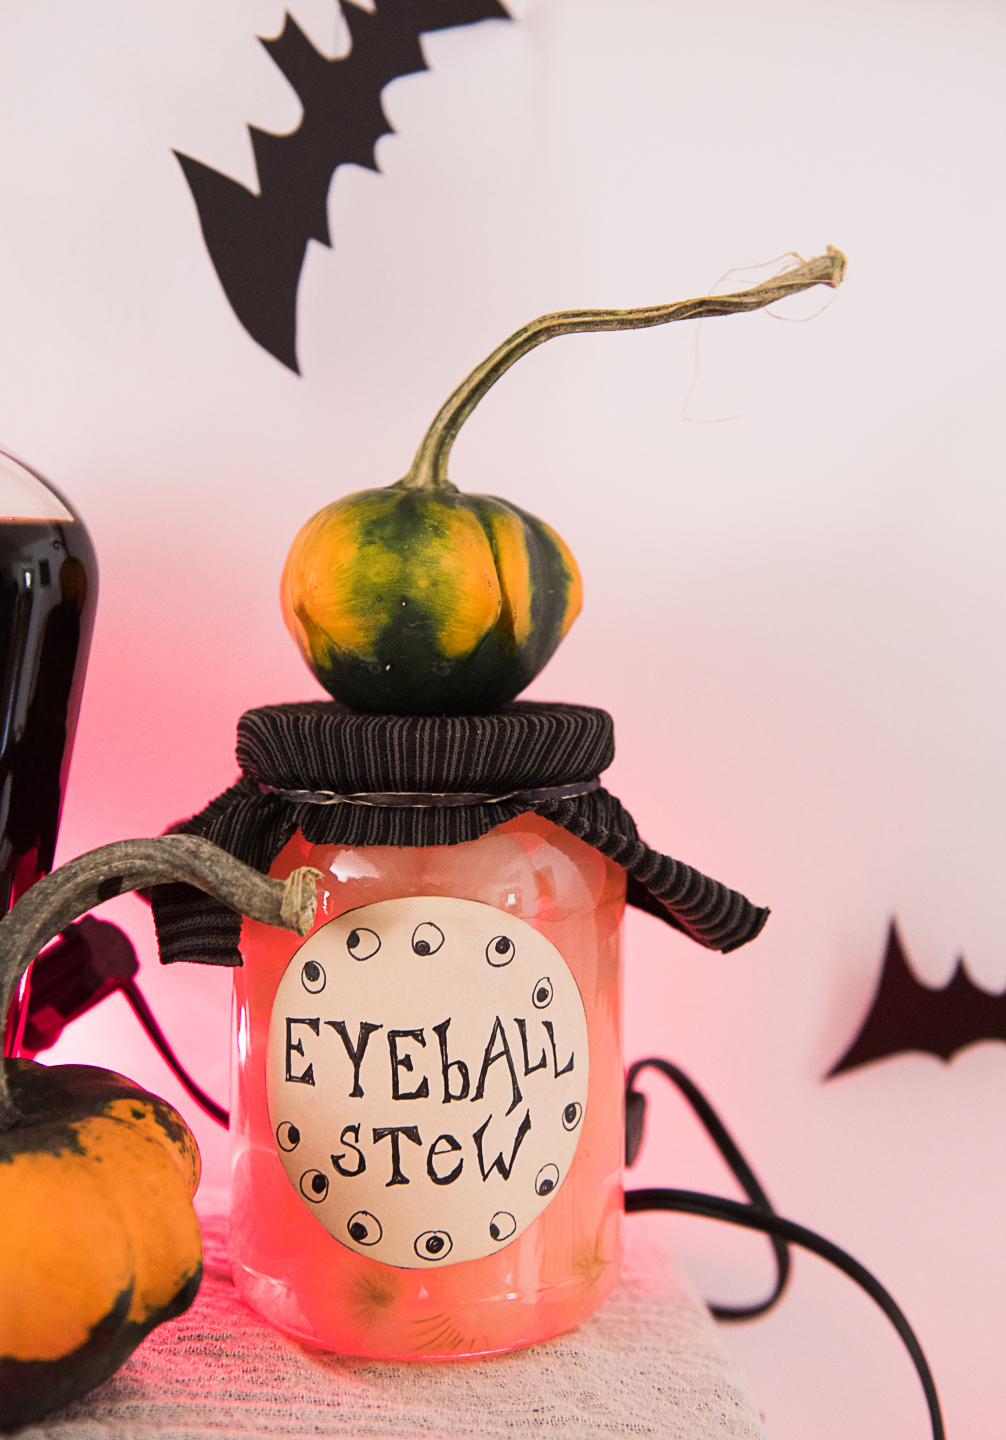
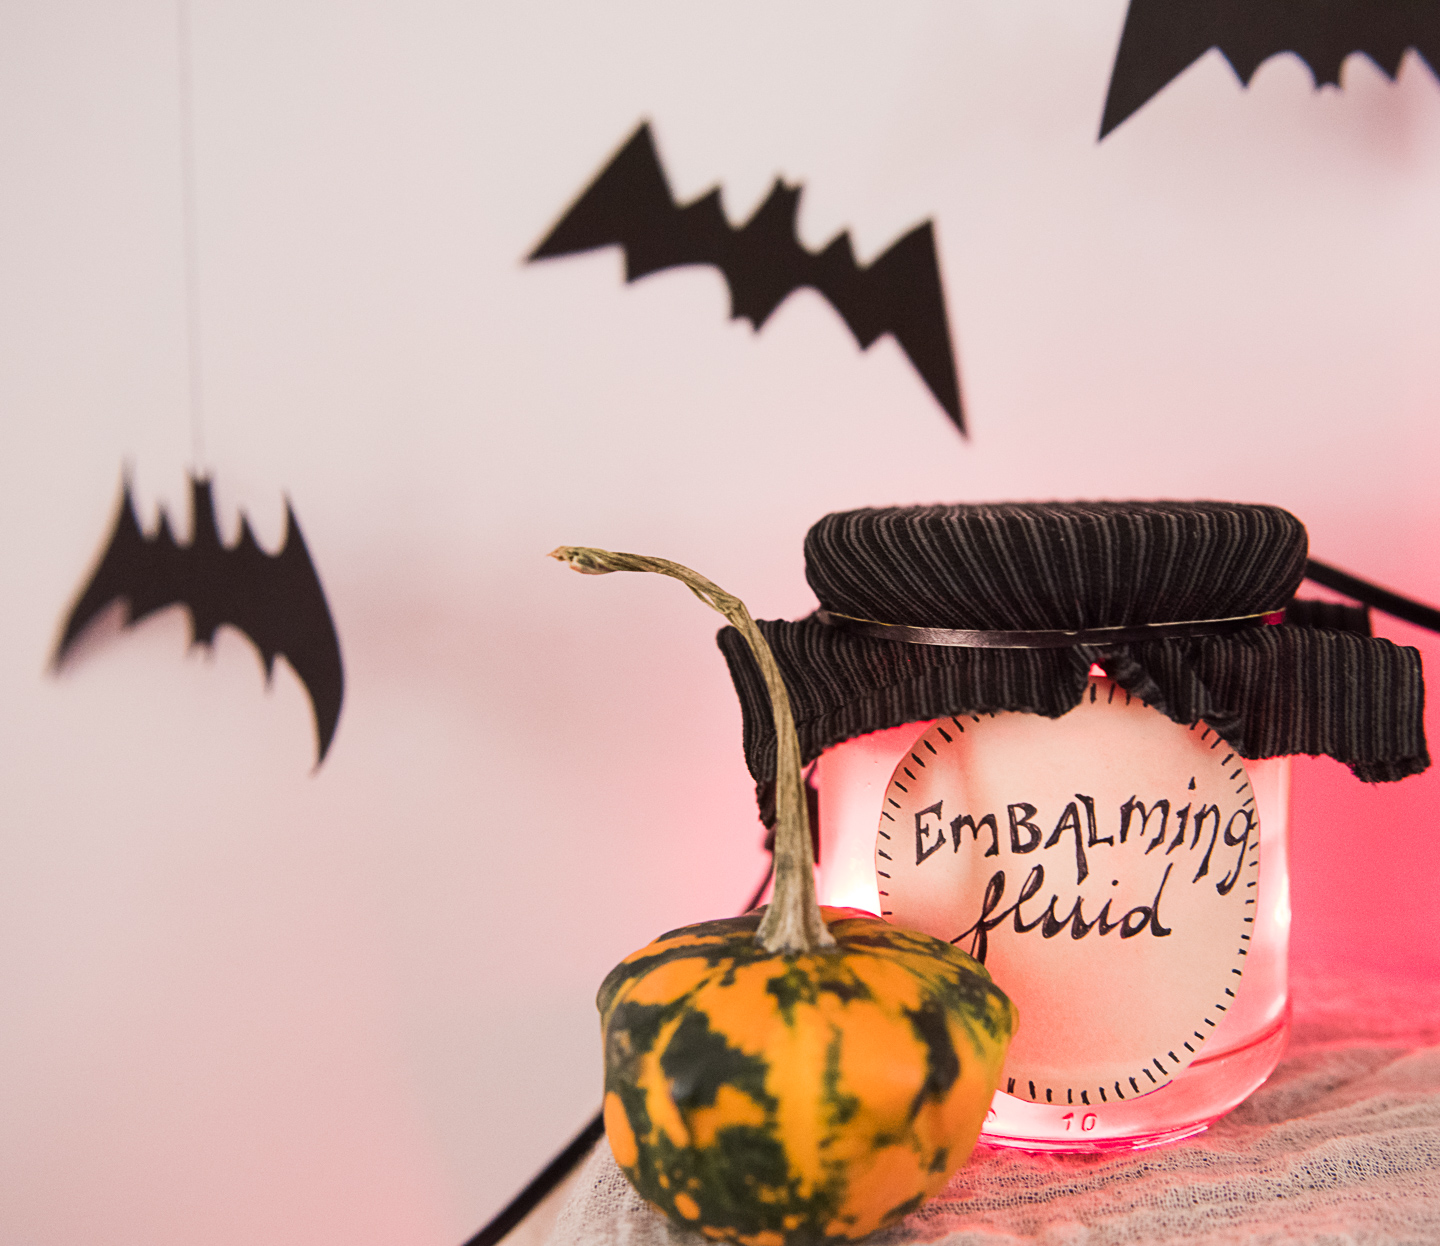
Use scissors to cut along any glued seams of envelopes to maximize surface area. Lay flat and trace Mason jar lid to form an equal number of circles to the assorted jars you’ll be using. Add creative and creepy titles and designs to circles such as “Eye of Newt” “Puppy Dog Tails” or “Embalming Fluid.” Get creative! Have fun with it!
Remove any existing labels from jars and bottles by soaking in warm water with a healthy splash of vinegar and scrubbing.
Cut out labels and dip in coffee or tea. This will create an aged coloring to your labels. While the labels are still quite wet (but not dripping water) dab three or four spots on the back side of the label with craft glue and apply to assorted jars and labels. Smooth gently with fingers and leave alone. The water will prevent you from needing to use much glue. NOTE: DO NOT fret about bubbles or the glue appearing to leave white spots that show through from the back side of the label. I had both of these during the drying process, but it is indeed a process. You should be fine.
If using empty jars, fill with infused vinegar cleaner, assorted (imaginative!) food items, or set vinegars to infuse as I did. Orange peel-infused vinegar makes for a mean “Embalming fluid”. The “Hearts” jar is filled with chunks of beet. You can use virtually any fruit or vegetable for this - I loved the creepy dark red color though - but do NOT fill your jars with water. Use vinegar or alcohol infusions ONLY so that you don’t wind up with a petri dish. Note: If you make your own kombucha, consider integrating it into your Halloween display. THIS IS YOUR SCOBY’S TIME TO SHINE, Y’ALL!
Cheap, Eco-friendly DIY Halloween Tablescape
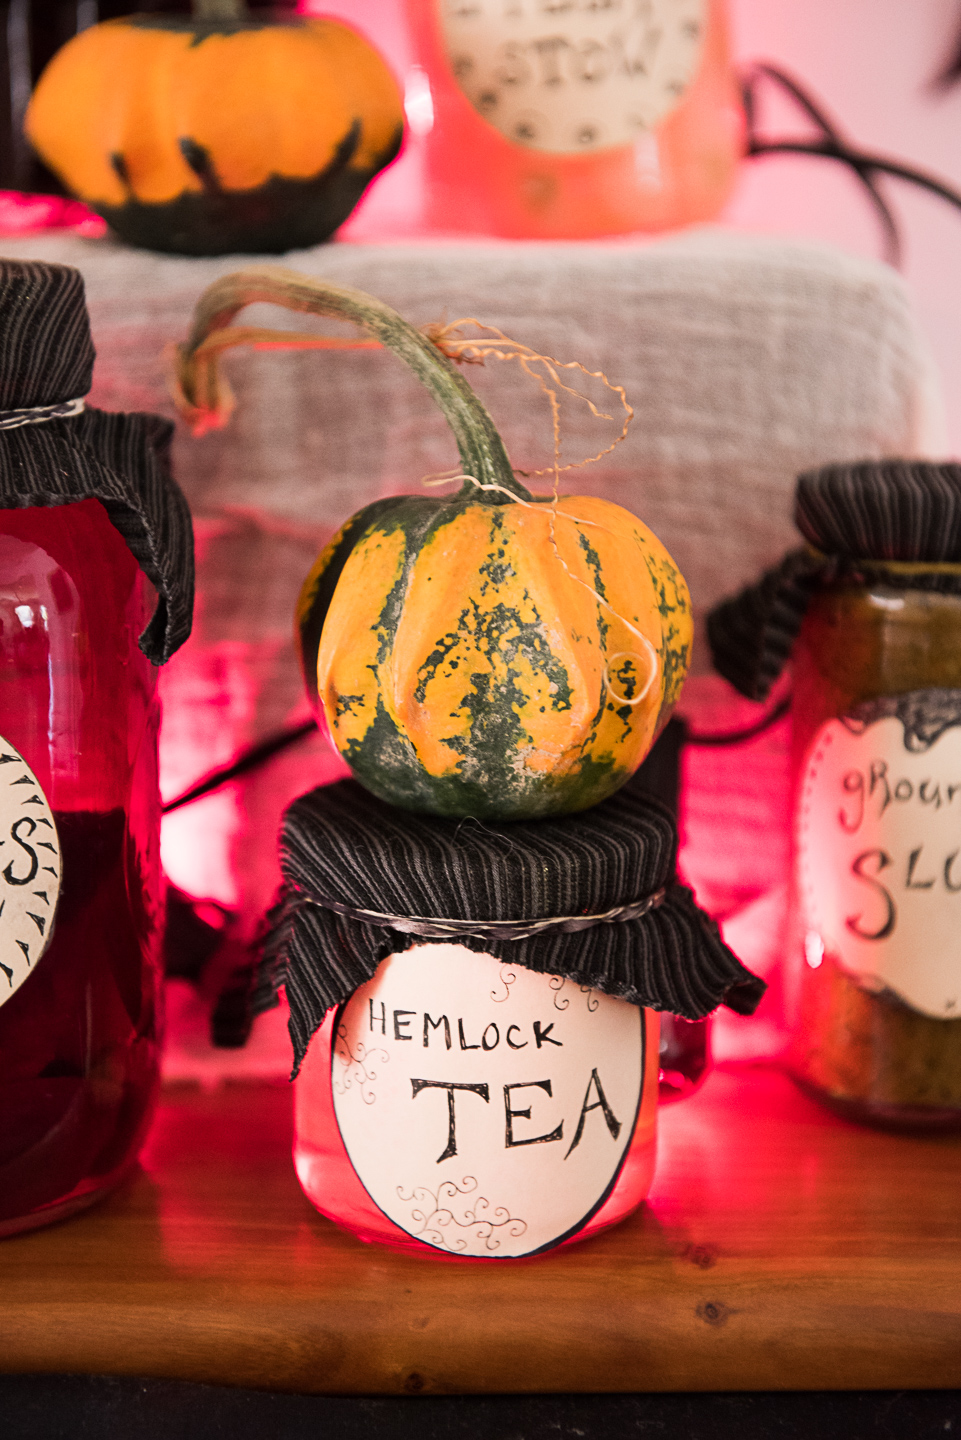
If using fabric, cut squares to cover lids of jars with approximately two inches excess on sides perpendicular to labels (you will have rectangles and can always trim them after). If using tights, cut and discard hemmed toe of tights. Measure the length of the lid and add two inches excess, cut into sections. You will have a circular round of fabric, slice through one place on the connected loop to form rectangle.
Lay rubber bands flat. Take sharpie and run along the rubber bands to camouflage. (This is not a step to invest your time in, it won’t matter if they’re not perfect and if the color of your bands against the fabric doesn’t bother you, you can skip this step altogether.) Stretch fabric over the jars, secure with rubber bands.
Arrange tablecloth or runner to be used as base fabric and place the basket or box in desired spot. Drape with cheesecloth.
Place jars, label side out, as desired. I found that mine looked best staggered by height and also the transparency of the liquid. If using lights, plug in your strand and weave them through behind the jars until desired effect is achieved.Then place small gourds and pumpkins throughout display to add color and break up blocks of jars, visually. Finally, hang bats and party on!
How To Break Down Halloween Tablescape
This is my favorite part of this decorative display.
Remove and store lights for Christmas or upcoming holidays.
Repurpose pumpkins for Thanksgiving or compost or discard in an eco-friendly manner.
Reserve infused vinegars for cleaning household surfaces, give infused alcohols as gifts, eat jarred foods. Remove and recycle labels. Wash and recycle glass jars or store for future food storage and canning.
Remove rubber bands from jars, reserve for future use in kitchen or office.
Set aside rectangles of fabric as rags or for use in future craft projects (I’m keeping mine for when I don’t want to use my cheesecloth to strain liquids.)
Wash cheesecloth and return to kitchen.
Wash and store tablecloth and or placemats.
Put basket away (or donate) or recycle box used as riser.
Recycle paper bats or place in folder and store for next year.
And there you have it! Quick, easy, cheap and zero waste Halloween decorations.

